
Pruning
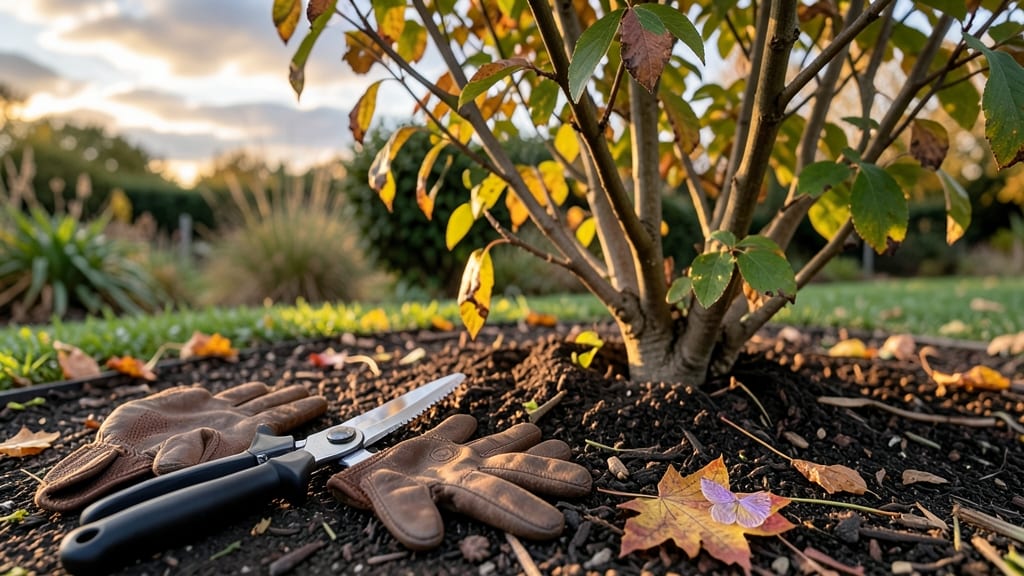
Mastering butterfly bush care in fall is the secret to next year’s showstopping blooms—but timing and technique make all the difference. ✂️ I’ve learned the hard way that cutting too early or too late can leave your shrub bare all winter or stunted in spring.
The key? Wait until after the first hard frost when the plant goes dormant, then prune back by one-third to encourage dense, vibrant growth for summer.
You’ll need a pair of clean, sharp pruners and a clear day to assess the shape. Remove any dead, diseased, or crossing branches first—they’re the fastest way to improve airflow and prevent winter rot.
For the main pruning, cut just above a leaf node or outward-facing bud to shape the bush while leaving enough structure for winter interest.
The payoff? By next spring, your butterfly bush will burst with more blooms than ever, supported by stronger stems and a fuller form.
Plus, the late fall pruning gives you a chance to clean up debris and add a 2-3 inch layer of mulch to protect roots from freezing temperatures.
Works for both Buddleia varieties and dwarf cultivars, whether you’re in a cold northern climate or a milder southern zone. The same principles apply—just adjust the timing slightly for your frost dates. Let’s get those branches trimmed!
📚 In This Guide
- What you need
- Instructions
- Tips and common mistakes
- Wrapping up and next steps
What you need
- ● Pruning shears or loppers – Sharp, clean, and sterilized (bypass pruners work best for clean cuts). Loppers for thicker stems (½" or larger).
- ● Gloves – Heavy-duty, cut-resistant (butterfly bushes have thorny stems!).
- ● Disinfectant (rubbing alcohol or bleach solution) – 1 part bleach to 9 parts water to sterilize tools between cuts and prevent disease.
- ○ Pruning sealant (optional but helpful) – For large cuts (over ½") to prevent sap loss and pests.
- ● Garden twine or plant ties – For securing heavy branches if needed after pruning.
- ● Garden bag or bucket – For collecting pruned branches (compost or dispose of diseased material).
- ● Rake or leaf blower – To clear fallen leaves/debris around the base of the bush.
- ● Hand saw – For very thick stems (over 1" in diameter).
- ● Mulch (shredded bark or wood chips) – 2–3 inches deep around the base to insulate roots in winter.
- ● Fertilizer (balanced or slow-release) – Low-nitrogen (10-10-10 or 5-10-10) to encourage root growth without late-season foliage.
- ● Plant food spray (for disease prevention) – Copper-based fungicide if your area has fungal risks.
Step-by-Step instructions for fall butterfly bush pruning
Here’s how I prepare my butterfly bushes each fall—keeping next year’s blooms vibrant while protecting them through winter.
✂️ Step 1: Wait Until Late Fall for Pruning
Don’t rush—prune 4-6 weeks before your first hard frost, when most butterflies have migrated and new growth has slowed. I target late October or early November in my zone 6 climate. Pruning too early can stimulate tender new shoots that won’t survive winter, while waiting too long risks cutting back next year’s flower buds.
Look for dormant stems that have lost their leaves completely. These are ready for pruning. If you see any green leaves or new growth, wait another week—the plant is still active and needs to harden off properly.
✂️ Step 2: Remove Dead, Diseased, or Weak Wood
Start by inspecting each stem for dead branches (no green beneath the bark when scratched) or those with mushroom-like growths or blackened cankers. Cut these out first using clean, sharp pruners. I disinfect my tools with rubbing alcohol between cuts to prevent spreading any hidden pathogens.
Next, remove any stems that are thinner than a pencil or growing in tangled clusters. These won’t produce strong blooms and compete with healthier stems. Thin from the base outward, making cuts at a 45-degree angle just above a outward-facing bud or node.
✂️ Step 3: Lightly Prune for Shape and Airflow
Step back and assess the plant’s overall shape. Butterfly bushes can get leggy, so I aim to maintain a rounded, open structure that lets sunlight and air circulate through the center. This prevents fungal issues and encourages robust new growth in spring.
Remove no more than 25-30% of the plant’s total growth. Cut back 1/3 of the oldest stems to the ground—these are the most woody and least productive. For younger stems, trim just above a healthy bud facing outward. Avoid heavy pruning now; save aggressive shaping for early spring.
🪴 Step 4: Prepare the Plant for Winter
After pruning, give the plant a deep watering to help it establish roots before dormancy. I add a 2-3 inch layer of mulch around the base (but not touching the trunk) to insulate roots and retain moisture. Use shredded bark or straw—avoid thick layers that can suffocate the plant.
If you’re in a zone colder than 5, consider wrapping the bush with burlap or frost cloth for extra protection. In milder climates, a simple layer of mulch is enough. The goal is to shield the plant from harsh winds while allowing airflow to prevent rot.
⏰ Step 5: Plan for Spring Renewal
Mark your calendar for late winter or early spring (just as buds begin to swell) to do your final pruning. This is when you’ll shape the plant for the season and remove any winter-damaged growth. For now, just leave the pruned stems in place—they’ll provide some winter interest while protecting the plant.
I also jot down notes about which stems produced the best blooms last year. This helps me prioritize which stems to keep when I do my spring pruning. A little preparation now means fewer surprises—and more butterflies—next summer.
Tips & tricks for perfect fall butterfly bush pruning
Took me years to figure out the best way to prune butterfly bushes without sacrificing winter hardiness or next year’s blooms—and here’s what actually works.
Timing is Everything: The 4-6 week window before your first hard frost is critical. I check my local frost date and count backward, but also watch for the plant’s natural cues—completely dormant stems with no green leaves. If you’re unsure, do a simple scratch test: scrape the bark on a stem. If it’s green underneath, wait another week. This ensures you’re not cutting back next year’s flower buds.
Tool Prep Matters: Before you start cutting, clean and disinfect your pruners with rubbing alcohol between each cut—especially when removing diseased wood. I also sharpen my tools first; dull blades crush stems instead of making clean cuts, which stresses the plant. A small investment in quality pruners makes all the difference for precise cuts at the right angles.
Shape Strategy: When maintaining that rounded, open structure in Step 3, think of your butterfly bush like a sculpture—you’re removing what doesn’t contribute to the overall form. I like to visualize the plant’s natural growth pattern and cut back to create an airy center. This isn’t just about looks; proper airflow prevents fungal diseases that can overwinter and attack next spring’s growth.
Winter Protection Hacks: For zones colder than 5, I’ve found that wrapping with burlap works better than frost cloth—it’s more breathable and allows some airflow while still providing wind protection. In milder climates, I add an extra layer of mulch (up to 3 inches) around the base, but always keep it clear of the trunk to prevent rot. The key is balancing protection with airflow to avoid creating a damp, disease-friendly environment.
Pro Tips for Butterfly Bush Care Fall
- Took me years to figure out the best way to prune butterfly bushes without sacrificing winter hardiness or next year’s blooms—and here’s what actually works.
- Timing is Everything: The 4-6 week window before your first hard frost is critical.
- Tool Prep Matters: Before you start cutting, clean and disinfect your pruners with rubbing alcohol between each cut—especially when removing diseased wood.
Frequently asked questions
Got questions about fall care for your butterfly bush? You’re not alone!
Here are answers to the most common concerns—from pruning timing to winter prep—so you can keep your plant thriving year-round.
When is the best time to prune butterfly bushes in fall?
Prune your butterfly bush after the first hard frost (typically late fall) but before new growth starts in spring. This timing balances bloom prep for next year while protecting the plant from winter damage. Avoid heavy pruning too early—wait until leaves yellow or drop naturally.
Should I cut back butterfly bushes for winter?
Yes, but strategically! Cut back 1/3 to 1/2 of the plant’s height to remove dead or weak stems. Leave some branches intact for winter interest and to protect the crown from cold. Mulch the base with 2–3 inches of organic mulch (like shredded bark) to insulate roots.
How do I prevent butterfly bushes from dying in winter?
Cold damage is rare, but young plants or harsh climates (below Zone 5) may need extra care. Wrap the base with burlap or use a tree guard to shield from wind. Avoid overwatering in winter—soil should stay slightly moist but not soggy. Evergreen varieties handle frost better than deciduous ones.
Will pruning in fall reduce next year’s flowers?
Not if done right! Butterfly bushes bloom on new wood, so pruning in fall encourages more vigorous growth—and more blooms—next season. Just avoid over-pruning (never cut more than 50% of the plant). Focus on shaping and removing dead wood to redirect energy to healthy stems.
Are there alternatives to butterfly bushes for fall color?
If you love the look but want low-maintenance options, try:
- Russian sage (Perovskia atriplicifolia): Drought-tolerant, purple spikes, and thrives in cold climates.
- Joe Pye weed (Eutrochium spp.): Tall, pink blooms and attracts butterflies too!
- Switchgrass (Panicum virgatum): Adds texture and winter interest with seed heads.
Wrapping up and next steps
Fall is the perfect time to give your butterfly bush the care it needs to thrive—balancing pruning, protection, and preparation for winter. By following these steps, you’ll ensure stunning blooms next spring while keeping your garden vibrant year-round. 🌿✨
Ready to take action? Grab your pruners and start with confidence—your butterfly bush (and pollinators!) will thank you. For extra inspiration, explore seasonal garden tips or join a local gardening group to share your progress.