
Shrubs
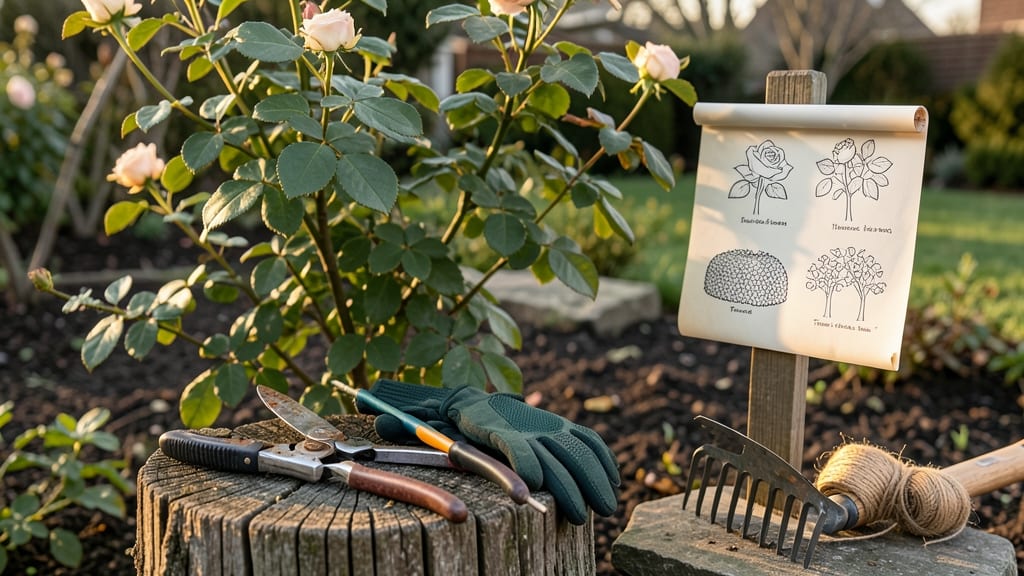
Shaping rose bushes isn’t just about snipping branches—it’s about unlocking their full potential for vibrant blooms and sturdy structure. 🌹 After years of pruning my own roses, I’ve learned the difference between a bush that looks like a tangled mess and one that produces hundreds of blooms while staying healthy.
The key lies in understanding when, where, and how to make those cuts. Most gardeners prune at the wrong time or use the wrong technique, leading to leggy growth or no flowers at all.
But with the right approach—timing cuts in late winter or early spring and focusing on outward-facing buds—you’ll encourage strong new growth and a bush that’s easier to manage. The tools you need are simple: sharp pruners, gloves, and a clear vision of your rose’s natural shape.
By the end of this process, your roses will have an open center that lets air and light circulate, reducing disease and encouraging more blooms. You’ll also see those red shoots appear within weeks, signaling new life and growth. The best part?
These techniques work for all rose types, from climbers to shrubs. Confession: I used to over-prune, thinking more cuts meant more flowers. Now I know better—less is often more. Let’s get those roses shaped right for a showstopping season ahead.
📚 In This Guide
- What you need
- Instructions
- Tips and common mistakes
- Wrapping up and next steps
What you need
- ● Pruning shears – Bypass pruners (for clean cuts) or anvil pruners (for thicker stems). Quantity: 1 pair (sharp and sanitized!).
- ● Loppers – For thicker branches (up to 2 inches in diameter). Quantity: 1 pair.
- ● Pruning saw – For stubborn, thick stems (over 2 inches). Quantity: 1.
- ● Garden gloves – Heavy-duty, cut-resistant gloves to protect your hands from thorns and sharp tools.
- ● Disinfectant (rubbing alcohol or bleach solution) – To clean tools between cuts and prevent disease spread.
- ● Rake or broom – For clearing away pruned debris from the base of the bush.
- ● Hand pruners (felco or similar) – For precision cuts on smaller stems.
- ● Pruning sealant – To coat larger cuts and reduce moisture loss (use sparingly!).
- ● Measuring tape or ruler – For marking ideal cutting heights or lengths.
- ● Garden twine or stakes – If you plan to train new growth or support weak stems.
- ● Compost or mulch – To replenish nutrients after pruning.
- ● Choose the right time to prune—early spring (before new growth) or late winter for most roses.
- ● Check the type of rose (hybrid tea, floribunda, climbing, etc.)—pruning needs vary!
- ● Have a clear plan—sketch or mentally map out your desired shape before cutting.
- ● Ensure your roses are healthy—prune only when they’re disease-free to avoid stress.
Step-by-step guide to pruning and shaping rose bushes
Here's how I transform tangled rose bushes into healthy, flowering showpieces—no green thumb required.
✂️ Step 1: Prune Out Dead and Diseased Wood First
Start by scanning your rose bush for any branches that are brown, mushy, or covered in black spots—these are your first targets. Dead wood has a hollow center when you cut into it, while healthy wood is firm and green inside. Grab your pruners and make clean cuts at a 45-degree angle, about ¼ inch above an outward-facing bud.
I always work from the bottom up, removing the worst offenders first. This keeps your workspace clean and prevents spreading any potential disease to healthy branches. If you see any cankers (sunken, discolored areas), cut back 6 inches below the affected spot to ensure you remove all infected tissue.
✂️ Step 2: Thin Out Crowded Branches for Better Airflow
Next, focus on the bush's structure. Look for branches that cross each other or grow inward—they'll rub against each other and create wounds where pests and diseases can enter. Remove about ⅓ of the oldest wood first, then thin out any branches that are growing straight up (they'll never bloom well).
I like to step back every few cuts to visualize the shape. Your goal is an open center that lets light and air circulate freely. You'll know you're doing well when you can see sunlight reaching the center of the bush—this is where your best blooms will form.
✂️ Step 3: Shape the Bush for Optimal Blooming
Now it's time to sculpt the outer shape. For most roses, I aim for a slightly rounded, vase-like form with the widest part at the top. Cut back the longest stems to 18-24 inches tall, making your cuts just above a bud that faces outward. This encourages new growth that will fill out the bush's structure.
Here's the thing—don't be afraid to make bold cuts. Roses are surprisingly resilient, and new growth will sprout quickly from the buds you leave behind. If you're unsure about a cut, remember this: You can always prune more, but you can't un-cut what you've removed.
✂️ Step 4: Encourage New Growth with Strategic Cuts
Look for any branches that are growing in the wrong direction—toward the center or downward. These should be pruned back to just above a bud that's growing outward. I also make sure to leave at least 3-5 strong canes on each bush, as these will support next year's blooms.
For hybrid teas and grandifloras, I leave 4-6 buds on each remaining stem. For shrub roses, I'm a little more generous, leaving 5-7 buds to encourage bushier growth. Water the base of the bush immediately after pruning—this helps reduce shock and encourages rapid new growth.
🌿 Step 5: Clean Up and Monitor for New Growth
After all your cuts, rake up all the debris and dispose of it in the trash (never compost diseased plant material). This prevents reinfesting your roses with fungal spores or pests. I also like to give the base of the bush a light application of mulch to help retain moisture and protect against winter chill.
Watch for new growth within 2-3 weeks—you'll see fresh, bright green shoots emerging from the buds you left behind. This is your sign that the pruning was successful. If you don't see new growth after 4 weeks, you may have pruned too aggressively, and it's time to reassess your cuts.
Tips & tricks for perfect rose bush shaping
Transforming tangled rose bushes into beautiful, blooming showpieces takes confidence—and these tricks will help you avoid common mistakes while creating a strong foundation for next year's flowers.
Tool Prep: Sharpen your pruners before you start—dull blades tear wood instead of making clean cuts, which can damage the bush and invite disease. I also like to wipe down my tools with rubbing alcohol between cuts to prevent cross-contamination of any potential pathogens. A small spray bottle of water keeps blades cool and prevents overheating during long pruning sessions.
Visualizing the Shape: Before making any cuts, step back and study your rose bush from all angles. Imagine the ideal vase shape—widest at the top, gradually narrowing toward the base. Mark your target height with a piece of string or tape if needed. This mental exercise helps prevent over-pruning, which can stress the plant. Remember, you can always remove more later, but you can't undo a cut that's too severe.
Bud Selection: When making your cuts, always look for outward-facing buds—they'll grow away from the center, creating that open, airy structure we want. I've made the mistake of leaving inward-facing buds, which led to dense, tangled growth that blocked sunlight. Pro tip: The top bud on a stem will determine the new branch's direction, so choose wisely!
Seasonal Considerations: The best time to prune most roses is in late winter or early spring, just before new growth begins. However, if you spot dead or diseased branches at any time, remove them immediately to prevent spreading. For climbers, prune after flowering. If you must prune in summer, do it early in the morning to reduce stress on the plant from heat and sun exposure.
Pro Tips for Shape Rose Bushes
- Transforming tangled rose bushes into beautiful, blooming showpieces takes confidence—and these tricks will help you avoid common mistakes while creating a strong foundation for next year's flowers.
- Tool Prep: Sharpen your pruners before you start—dull blades tear wood instead of making clean cuts, which can damage the bush and invite disease.
- Visualizing the Shape: Before making any cuts, step back and study your rose bush from all angles.
Frequently asked questions
Got questions about shaping your rose bushes? Here are some of the most common ones—plus quick, expert answers to help you prune like a pro!
When is the best time to prune rose bushes for shaping?
The ideal time depends on your climate and rose type. For most roses, late winter or early spring (just before new growth starts) is best. In mild climates, you can also prune lightly after blooming. Avoid pruning in fall—it can stimulate new growth that won’t harden off before winter.
How do I know if I’m making the right cuts when shaping?
Look for these key signs: cut just above an outward-facing bud (about ¼ inch above) to encourage growth away from the center. Avoid cutting into old wood—it won’t regrow. If you’re unsure, err on the side of smaller cuts; roses bounce back surprisingly well!
Can I shape roses without heavy pruning? What are my options?
For a lighter touch, try selective pruning—just remove dead, diseased, or crossing branches. You can also pinch back new growth in spring to encourage bushier blooms. For climbers, focus on training vines along supports rather than heavy cuts.
My rose bush isn’t blooming after pruning. Did I do it wrong?
Not necessarily! Roses need time to recover—wait until new growth appears. If blooms are still sparse, check for over-pruning (leave 3–5 strong canes) or nutrient deficiencies. Feed with rose-specific fertilizer in spring, and ensure it gets 6+ hours of sunlight daily. Patience pays off!
How do I prune roses in extreme heat or cold?
In heat, prune early morning or late evening to reduce stress. In cold, wait until frost danger has passed—pruning too early can expose tender wood. For winter protection, mound soil or mulch around the base after pruning (but not over the crown).
Wrapping up and next steps
Shaping your rose bushes doesn’t have to be intimidating—with the right tools, timing, and techniques, you’ll unlock healthier growth, stunning blooms, and a picture-perfect garden. 🌹 Remember, patience and consistency are key: prune in stages, prioritize airflow, and always reward your efforts with a well-hydrated plant.
Now that you’re armed with knowledge, grab those shears and get pruning!
Ready for more? Explore our guide on seasonal rose care to keep your bushes thriving year-round.