
Pruning
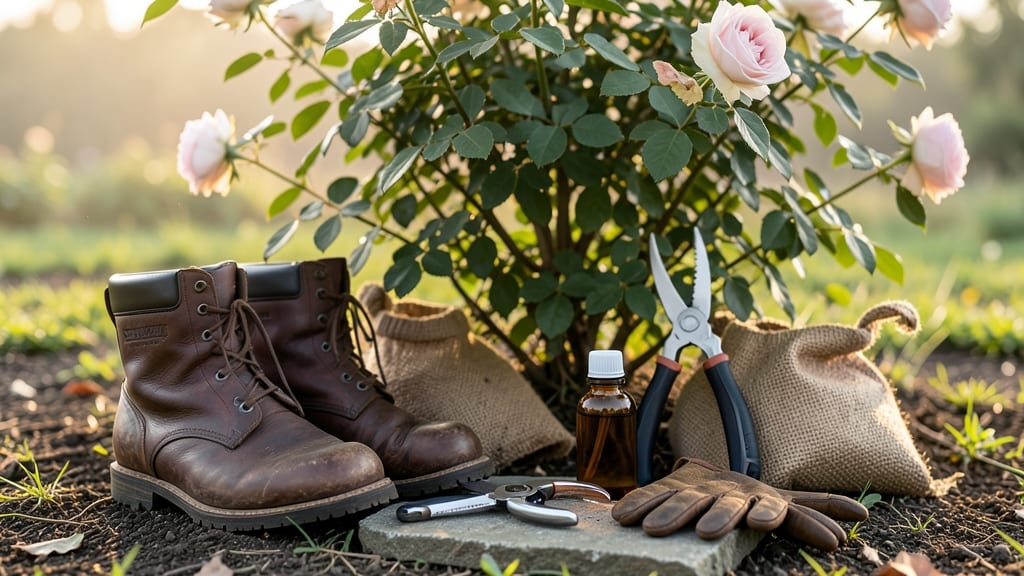
Fall's crisp air signals it's time to revive your roses—trimming back rose bushes in fall isn't just maintenance, it's winter survival prep. ✂️ After the first frost, when leaves have turned brown but before hard freezes hit, you'll give your bushes a clean slate for next year's blooms.
I learned the hard way that skipping this step leaves them vulnerable to disease and weak growth.
The secret lies in three simple cuts: first, remove all dead or diseased wood—it's like giving your plant a fresh start. Then, thin out crowded canes to improve airflow, and finally, shape the bush into an open vase form.
Most gardeners over-prune here, but aim to cut back one-third of the plant's height at most, focusing on weak or crossing branches.
What you'll end up with is a bush that looks like a well-groomed sculpture, ready to brave winter. The new growth you'll see in spring will be stronger, and your roses will bloom earlier and more abundantly. Plus, you'll avoid the heartbreak of winter dieback that ruins so many gardens.
This works for hybrid teas, floribundas, and shrub roses alike—just adjust timing slightly for your USDA zone. Whether you're in zone 5 or 9, the principles stay the same. Here's how to do it right without killing your bushes in the process.
📚 In This Guide
- What you need
- Instructions
- Tips and common mistakes
- Wrapping up and next steps
What you need
- ● Bypass pruners – Sharp, clean pruners (1 pair) for cutting stems up to ½ inch in diameter.
- ● Loppers – Heavy-duty loppers (1 pair) for thicker stems (½ to 1½ inches). Look for bypass or anvil-style with a 4- to 6-inch blade.
- ● Hand saw – A pruning saw (1) for stubborn, thick branches (1½+ inches). Opt for a curved blade for precision.
- ● Gloves – Garden gloves (1 pair) with reinforced palms to protect against thorns and debris.
- ● Disinfectant – Rubbing alcohol (70%+) or bleach solution (1 part bleach to 9 parts water) to sterilize tools between cuts.
- ● Trash bags – Heavy-duty contractor bags (2–3) for collecting pruned branches and diseased foliage.
- ○ Pruning sealant (optional but helpful) – Pruning wax or tree paint (small jar) to seal large cuts on susceptible rose varieties (e.g., hybrid teas).
- ● Knee pads – For comfort if your roses are tall or the ground is hard.
- ● Work apron – With pockets to hold small tools and gloves.
- ● Spray bottle – Filled with water to rinse tools mid-pruning and keep cuts clean.
- ● Label markers – If you’re tagging pruned branches for composting or disposal.
- ● Safety glasses – To shield eyes from debris, especially when sawing.
Instructions for trimming back rose bushes in fall
Here's the simple method I use every autumn to keep my roses healthy and ready for spring.
✂️ Step 1: Remove Dead and Diseased Wood First
Start by scanning your rose bush for any blackened, mushy, or hollow stems—these are dead or diseased. Grab your pruning shears and cut these stems back to healthy green wood, which is usually about ¼ inch above a outward-facing bud. I like to sterilize my shears between cuts with rubbing alcohol to prevent spreading any fungal spores.
Don't worry about being too aggressive here. The goal is to remove anything that won't bounce back in spring. You'll know you've got the right spot when you see fresh, firm tissue beneath the damaged area. Toss the cuttings in the trash—not the compost pile—since diseased material can linger and reinfect next season.
✂️ Step 2: Thin Out Crowded Canes
Next, focus on the overall shape of your rose bush. Look for canes that are crossing, rubbing against each other, or growing inward. These compete for sunlight and air circulation, which invites pests and diseases. Cut these back to the base using a clean, sharp cut at a 45-degree angle, about ⅛ inch above an outward-facing bud.
Here's the thing—you want to leave about 3-5 strong, healthy canes per bush for most hybrid teas and floribundas. This ensures the plant has enough energy to regenerate properly over winter. If you're unsure which canes to keep, pick the ones that are thickest and show the most vigorous growth.
✂️ Step 3: Shape the Bush for Winter
Now it's time to give your rose bush its final shape. Step back and visualize an open vase or slightly rounded form—this allows for good airflow and sunlight penetration. Cut back the remaining canes by about ⅓ to ½ their height, again making cuts at a 45-degree angle just above an outward-facing bud.
Leave the top buds facing outward so new growth will spread the bush wider in spring. Avoid cutting into old wood that's darker and more woody—this won't regrow. If your rose is particularly leggy, you can cut it back even more, but never below the first set of strong buds. This final trim should leave your bush looking balanced and ready for winter.
🪴 Step 4: Clean Up and Protect
After trimming, rake up all the fallen leaves and debris from around the base of the rose bush. This prevents fungal spores from overwintering in the soil. I like to apply a 2-3 inch layer of mulch around the base, keeping it about 6 inches away from the stem to prevent rot.
If you're in a particularly cold climate, consider wrapping the base of the bush with burlap or a rose-specific protective cover. This isn't always necessary, but it gives extra insulation to tender varieties. Water the base thoroughly before the first hard frost to ensure the roots stay hydrated through winter.
Tips & tricks for perfect fall rose pruning
Here's what I've learned after years of trial and error—these tricks make all the difference for winter-ready roses.
Tool Prep: Always sterilize your pruning shears between cuts with rubbing alcohol, especially when removing diseased wood in Step 1. I also like to sharpen my blades before starting—dull shears crush stems instead of making clean cuts, which stresses the plant. A quick wipe with a disinfectant cloth between bushes prevents cross-contamination of any fungal issues.
Bud Identification: When making cuts in Steps 2 and 3, look for outward-facing buds—they're usually on the side of the cane, not the underside. These buds will grow outward, creating a more open bush shape. I mark them with a pencil if I'm unsure which way they're facing before making my cut. This simple trick prevents awkward growth patterns in spring.
Shape Visualization: Before you start cutting in Step 3, take a step back and visualize your final shape. I sketch a rough outline in the air to ensure I'm maintaining that open vase form. This prevents over-trimming or leaving too many canes, which can make the bush look top-heavy. Think of it like sculpting—you're shaping the plant's future growth pattern.
Mulch Timing: Apply that 2-3 inch layer of mulch in Step 4 right after pruning, but wait until after the first hard frost to water thoroughly. This gives the cut stems time to seal naturally before winter moisture sets in. I also like to add a handful of compost to the mulch layer—it provides extra nutrients for spring regrowth.
Pro Tips for Trimming Back Rose Bushes In Fall
- Here's what I've learned after years of trial and error—these tricks make all the difference for winter-ready roses.
- Tool Prep: Always sterilize your pruning shears between cuts with rubbing alcohol, especially when removing diseased wood in Step 1.
- Bud Identification: When making cuts in Steps 2 and 3, look for outward-facing buds—they're usually on the side of the cane, not the underside.
Frequently asked questions
Got questions about trimming back rose bushes in fall? You’re not alone! Here are some of the most common concerns—and their answers—to help you prune with confidence.
When is the exact best time to trim roses in fall?
Trim roses after the first hard frost (typically late October to early November in most U.S. zones) but before winter dormancy sets in. This timing balances disease prevention and winter prep. In warmer climates, wait until December or even early spring. Avoid trimming too early—you risk encouraging new growth that won’t harden off before cold snaps.
How much should I cut back my roses in fall?
Reduce height by one-third to one-half for most roses (hybrids, floribundas, grandifloras). Climbing roses need gentler trims—just remove dead or crossing canes. For shrub roses, aim for a rounded shape with outward-facing buds. Over-trimming stresses plants; under-trimming leaves them vulnerable to pests and disease.
What if I see dead or diseased wood after trimming?
Remove all black, mushy, or cankered stems immediately—sterilize pruners with rubbing alcohol between cuts. Dispose of diseased debris in the trash (not compost). Healthy wood should be greenish-brown inside. If your roses are repeatedly plagued by disease, improve airflow by thinning foliage and mulching properly.
Can I trim roses in late fall if I missed the window?
Yes! Light trimming (removing only dead or damaged branches) is fine even in December. Avoid heavy pruning—it stimulates tender growth that won’t survive winter. Wait for spring (early March) to do major shaping. In mild winters, you might delay until late winter to avoid frost damage to fresh cuts.
Do I need to trim roses differently in Zone 5 vs. Zone 8?
Zone 5 (colder climates):
Trim aggressively after the first frost (October–November) to protect against harsh winters. Zone 8 (milder climates): Light pruning in December or even January is safer—avoid stimulating growth before warm spells. Always check local frost dates! Roses in coastal areas may need later trims due to milder winters.
Wrapping up and next steps
Trimming back your rose bushes in fall isn’t just about tidying up—it’s a power move for next year’s blooms! 🌹 By following these three steps, you’re giving your plants the resilience they need to thrive through winter and burst back to life in spring.
Now that you’re armed with the how, grab those shears and get ready to transform your garden into a winter-ready masterpiece.
Your next step? Mark your calendar for late fall (just before the first hard frost) and take action. And remember: patience and precision are your best friends here. Happy pruning—your roses will thank you with a showstopping comeback!