
Planting
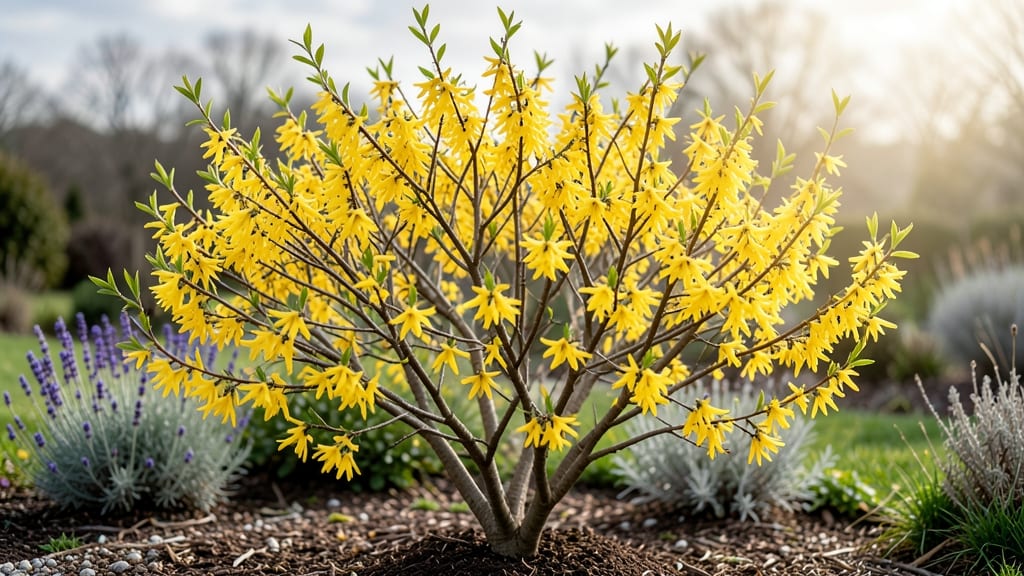
Growing a Sharon bush plant 🌸 is easier than you think, and the payoff is stunning—lush, fragrant blooms that turn heads in any garden.
But here’s the catch: skip the basics, and you’ll end up with leggy branches and sparse flowers. I’ve seen it happen more times than I’d like to admit, and the good news?
A few simple tweaks—like pruning at the right time or feeding it just enough—can transform a struggling shrub into a showstopper.
This guide covers everything from soil secrets to seasonal pruning, so you’ll know exactly what your Sharon bush needs to thrive in Zone 6a and beyond. No guesswork, just proven tips for year-round beauty.
Ready to turn your garden into a bloom-filled paradise? Let’s get started with the care routine that keeps these shrubs looking their best from spring to fall.

Sharon bush plant care: essential growing conditions for maximum blooms
The Sharon bush (Hibiscus syriacus) thrives when you match its care to its natural preferences. This hardy shrub rewards you with vibrant blooms and lush foliage when given the right sunlight, soil, and water.
Let’s break down the essential growing conditions to ensure your plant stays healthy and produces abundant flowers year after year.
First, sunlight exposure is critical for Sharon bushes. They demand full sun conditions, meaning at least 6-8 hours of direct sunlight daily. Without sufficient light, your plant may produce fewer blooms or develop weak, leggy growth.
If you’re planting in a partially shaded area, expect reduced flowering and slower growth rates.
Soil quality plays a pivotal role in the health of your Sharon bush. These shrubs prefer well-draining, slightly acidic to neutral soil with a pH between 6.0 and 7.5. Heavy or waterlogged soil can lead to root rot, while sandy soil may require extra mulching to retain moisture. Amending your soil with compost or organic matter improves drainage and nutrient availability.
| Growing Condition | Ideal Specification | Key Notes |
|---|---|---|
| Sunlight | 6-8 hours of full sun daily | Too little sun = fewer blooms |
| Soil Type | Well-draining, slightly acidic to neutral | pH 6.0-7.5; amend with compost |
| Watering | Deep watering 1-2 times per week | Morning watering prevents fungal issues |
| Temperature | USDA Zones 5-9 (hardy to -15°F) | Cold-hardy but needs winter mulch |
| Fertilizer | Balanced 10-10-10, spring and early summer | Avoid over-fertilizing in fall/winter |
When it comes to watering your Sharon bush, consistency is key. Young plants need regular watering to establish roots, while mature shrubs are drought-tolerant once established. Water deeply 1-2 times per week, ensuring the soil is moist but not soggy.
Overwatering can lead to root rot, so always check the soil moisture before watering. Morning watering is ideal, as it allows foliage to dry quickly and reduces the risk of fungal diseases.
Temperature and seasonal care are equally important for Sharon bushes. These shrubs are cold-hardy and thrive in USDA Zones 5-9, tolerating temperatures as low as -15°F. However, young plants may need winter protection, such as a thick layer of mulch, to insulate roots during freezing temperatures.
In hot summer climates, provide afternoon shade to prevent stress, especially in regions with extreme heat.
If your Sharon bush develops yellowing leaves, it’s often a sign of overwatering or poor drainage. To fix this, reduce watering frequency and improve soil drainage by adding organic matter or perlite. Sparse flowering can indicate insufficient sunlight or a lack of nutrients.
In this case, move the plant to a sunnier location and apply a balanced fertilizer in early spring to encourage new growth and blooms.
Another common issue is leaf spot diseases, which appear as brown or black spots on foliage. This is usually caused by excess moisture or poor air circulation. To prevent it, avoid overhead watering and prune the bush to improve airflow.
Remove and destroy affected leaves promptly to stop the spread. Regularly inspect your plant for signs of pests like aphids or spider mites, which can also stress the shrub and reduce flowering.
To maximize bloom production, deadhead spent flowers regularly. This encourages the plant to produce more blooms and keeps it looking tidy. Additionally, prune lightly in late winter or early spring to shape the bush and remove any dead or weak wood.
Avoid heavy pruning, as Sharon bushes bloom on old and new wood, meaning you won’t sacrifice next year’s flowers by pruning now.
With the right growing conditions and a little attention to detail, your Sharon bush will reward you with stunning blooms and lush foliage for years to come.
Pay close attention to its sunlight, soil, and water needs, and don’t hesitate to adjust your care routine if you notice any signs of stress. Happy gardening! 🌸
Pruning and maintenance: how to keep your Sharon bush healthy and flowering
The Sharon bush (Hibiscus syriacus) thrives with proper maintenance, especially when it comes to pruning. Regular pruning encourages vibrant blooms and maintains a neat, healthy shape.
Whether you're shaping your shrub or rejuvenating old growth, timing and technique are everything. Let’s break down the essential steps to keep your Sharon bush flourishing year after year.
Pruning isn’t just about cutting back—it’s about promoting growth and removing deadwood. The best time to prune is late winter or early spring, just before new growth begins. This ensures you’re not cutting off potential blooms and gives your plant a fresh start for the season.
For deadheading, remove faded flowers throughout the growing season to encourage more blooms.
Step-by-Step Sharon Bush Pruning Guide
-
Step 1: Remove Dead or Diseased Branches
Inspect your shrub and cut out any dead, damaged, or diseased wood using clean, sharp pruners. This prevents the spread of disease and improves air circulation. -
Step 2: Shape the Shrub
Prune to maintain your desired shape and size. For a rounded form, trim back 1/3 of the oldest branches to encourage new growth from the base. -
Step 3: Deadhead Faded Flowers
Throughout the growing season, remove spent blooms by cutting just above a set of leaves or a bud. This redirects energy to produce more flowers. -
Step 4: Rejuvenate Older Shrubs
If your Sharon bush is overgrown or woody, prune back 1/3 of the oldest branches to the ground in late winter. This stimulates new growth and revitalizes the plant. -
Step 5: Fertilize After Pruning
Apply a balanced fertilizer (10-10-10) in early spring to support new growth. Avoid fertilizing in fall or winter when the plant is dormant.
For cold climates (USDA Zones 5-9), overwintering your Sharon bush is key. After pruning, apply a 2-3 inch layer of mulch around the base to insulate roots. This protects against freeze-thaw cycles and keeps the soil temperature stable. Avoid piling mulch against the stem to prevent rot.
Watering plays a role in maintenance too. While Sharon bushes are drought-tolerant once established, they still need deep watering every 7-10 days during dry spells. Water at the base of the plant in the morning to reduce evaporation and fungal risks.
Overwatering can lead to root rot, so always ensure the soil is well-draining.
With these steps, your Sharon bush will reward you with lush foliage and stunning blooms for years to come. Regular pruning keeps it healthy, while proper overwintering ensures it bounces back strong every spring. Happy gardening! 🌸