
Shrubs
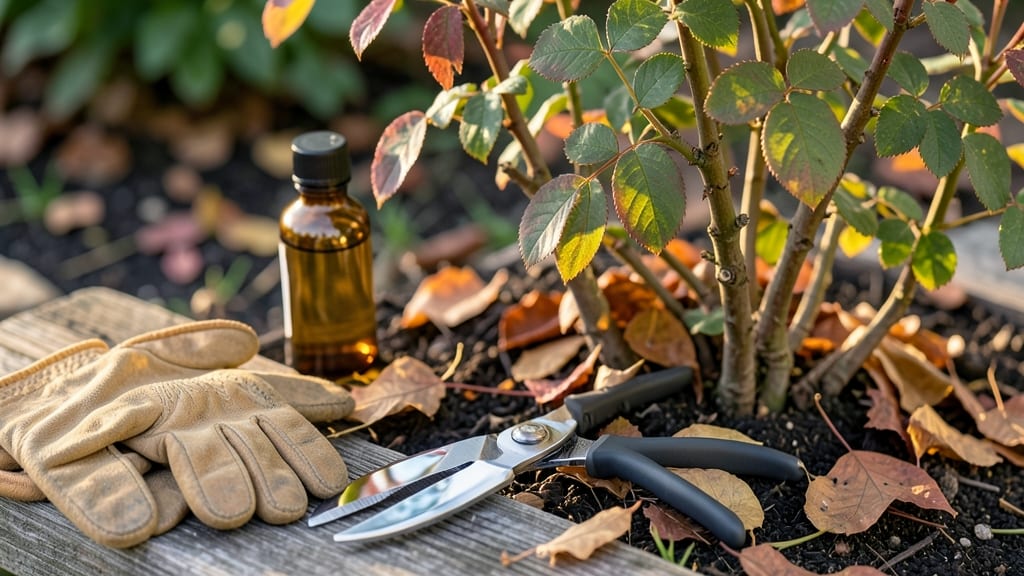
Cutting rose bushes in fall isn't just about shaping plants—it's about setting them up for a showstopping spring that rivals anything you've seen. ✂️ I learned the hard way that skipping this step means leggy, sparse blooms next year, but doing it right transforms your bushes into robust, flowering powerhouses.
The key? Timing it after the first hard frost but before the ground freezes solid.
You'll need sharp pruners, a clean cutting surface, and a clear day to work. The goal isn't to strip the plant bare—just to remove dead, diseased, or crossing branches while leaving the framework intact.
Most roses benefit from a 25-30% reduction in size, but hybrid teas need slightly more aggressive trimming to encourage strong new growth.
What you'll get is a bush that looks like it's been professionally groomed, with fewer weak canes and better air circulation. Come spring, you'll see fresh, dark green shoots emerging within weeks, followed by blooms that arrive earlier and last longer than ever before.
The secret? Cutting at a 45-degree angle just above an outward-facing bud.
Works for all rose types—hybrid teas, floribundas, shrub roses—just adjust the timing slightly for your climate zone. Here's how to do it without making the classic mistakes that leave bushes struggling come spring.
📚 In This Guide
- What you need
- Instructions
- Tips and common mistakes
- Wrapping up and next steps
What you need
- ● Pruning shears or bypass pruners – Choose sharp, high-quality tools with bypass blades (avoid anvil pruners—they crush stems). A 5- to 6-inch blade works best for most rose bushes.
- ● Loppers – For thicker stems (½ inch or larger), opt for bypass loppers with 8- to 10-inch handles for leverage.
- ○ Hand pruners (optional but handy) – A small, ergonomic pair (3- to 4-inch blades) for delicate trimming and tight spaces.
- ● Garden gloves – Wear cut-resistant, durable gloves (like those with Kevlar or leather palms) to protect against thorns and debris.
- ● Disinfectant (70% isopropyl alcohol or bleach solution) – Clean tools before and after use to prevent disease spread.
- ● Heavy-duty trash bags or compost bin – Collect pruned stems for disposal or composting (avoid leaving them near the bush).
- ● Extension pole pruners – For tall or hard-to-reach roses (look for 6- to 8-foot poles with sharp blades).
- ● Rake or leaf blower – Clear fallen leaves and debris from around the base before trimming.
- ● Marking spray or flags – If you’re doing major structural pruning, mark cuts to visualize the final shape.
- ○ Mulch (optional) – A 2- to 3-inch layer of organic mulch (like shredded bark) after trimming to protect roots over winter.
Instructions for cutting rose bushes in fall
Here’s how to trim your roses this fall for a stronger, more vibrant spring—no guesswork, just clear steps.
✂️ Step 1: Time Your Trim for Late Fall
Wait until after your first hard frost when temperatures drop to 25-30°F for at least a few hours. This signals the plant to enter dormancy, making it easier to see where to cut. I always mark the date on my calendar—trimming too early leaves stems vulnerable to cold, while waiting too long risks winter dieback.
Check the weather forecast for a 3-5 day frost-free window after your first freeze. This gives you time to finish without rushing. If your roses are still leafy, they’re not ready—wait until all leaves have browned and fallen naturally.
✂️ Step 2: Gather Tools and Clean Up Debris
Use sharp, sterilized pruners (rubbing alcohol works to kill bacteria) and a bypass pruner for clean cuts. Avoid dull tools—they crush stems, inviting disease. I also grab a bucket for clippings and disinfectant (like 1 part bleach to 9 parts water) to wipe blades between cuts on different bushes.
Remove all fallen leaves and debris from around the base. This prevents fungal spores from overwintering near the plant. If you spot black spots or rust on leaves, bag them immediately and don’t compost them—these diseases can survive winter and reinfect next season.
✂️ Step 3: Remove Dead, Diseased, or Weak Growth
Start by cutting out any blackened, mushy, or hollow stems—these won’t recover and can harbor pests. Look for canes that are thinner than a pencil or growing at sharp angles from the main stem. These won’t produce strong blooms and should go. I like to snap them off at the base to see if they’re hollow inside—a sure sign of disease.
Next, trim back crossing or rubbing branches that create wounds where pathogens can enter. Step back occasionally to visualize the bush’s shape—you’re sculpting, not just hacking. Leave 3-5 strong, healthy canes per bush for hybrid teas and floribundas; 4-6 canes for shrub roses. This ensures airflow and reduces future disease risk.
☀️ Step 4: Cut for Shape and Next Season’s Growth
Make your final cuts at a 45-degree angle, about ¼ inch above an outward-facing bud. This encourages new growth to angle away from the center, improving airflow. For climbing roses, leave 2-3 main canes and prune side shoots to 2-3 buds from the base. I always count buds from the base—not the tip—to ensure next year’s blooms start lower on the stem.
Shape the bush into a vase-like form, wider at the top than the bottom. Avoid cutting into old wood (gray, thick stems)—these won’t regrow. If you’re unsure, err on the side of leaving too much rather than too little. You can always trim more in early spring, but you can’t un-cut dead wood.
⏰ Step 5: Clean Up and Protect for Winter
Rake up all clippings and dispose of them in the trash (not compost)—diseased material can survive and reinfect. After trimming, apply a 2-3 inch layer of mulch around the base (but not touching the stems) to insulate roots. I use straw or shredded leaves because they break down slowly and retain moisture.
For extra protection in Zone 5 or colder, wrap the bush with burlap or rose cones after the ground freezes. This shields against temperature swings that can crack canes. Water deeply before the first hard freeze to ensure roots are hydrated for winter. Now sit back—your roses are prepped for a stronger spring comeback.
Tips & tricks for perfect late-season rose trimming
These little details make all the difference between a healthy spring bloom and a sad, struggling bush.
Timing is Everything: The 25-30°F temperature threshold is your golden window—this is when roses naturally enter dormancy. I test by checking if leaves have completely browned and fallen. If you see green leaves lingering, wait another week. The 3-5 day frost-free window after your first freeze is perfect for finishing up without rushing.
Tool Prep Matters: Sterilizing your pruners between cuts is non-negotiable. I keep a small spray bottle of rubbing alcohol handy and wipe blades after every 5-6 cuts, especially when moving between bushes. This prevents spreading disease from one plant to another. A bypass pruner is worth the investment—it makes clean cuts that heal faster than the jagged cuts from anvil pruners.
Visual Cues for Healthy Canes: When selecting which canes to keep, look for stems that are thicker than a pencil with a smooth, greenish-brown bark. Run your thumb along the stem—healthy canes should have a slight ridge where buds form. If a cane feels soft or spongy when you squeeze it, it's diseased and should be removed immediately. This visual check saves you from keeping weak growth that'll struggle next season.
Mulching Secrets: That 2-3 inch layer of mulch isn't just decoration—it's insulation. I use straw because it breaks down slowly and won't compact like shredded leaves. Keep it 2 inches away from the stem to prevent rot. For extra protection in colder zones, add a 4-inch layer after the ground freezes. This creates a cozy blanket that keeps roots at a steady temperature through winter's ups and downs.
Pro Tips for Cutting Rose Bushes In Fall
- These little details make all the difference between a healthy spring bloom and a sad, struggling bush.
- Timing is Everything: The 25-30°F temperature threshold is your golden window—this is when roses naturally enter dorm...
- Tool Prep Matters: Sterilizing your pruners between cuts is non-negotiable. I keep a small spray bottle of rubbing al...
Frequently asked questions
Got questions about when, how, or why to cut back your roses in the fall? You’re not alone! Here are some of the most common concerns—plus straightforward answers to help you trim with confidence.
When is the absolute latest I can cut back my rose bushes before winter?
Most gardeners aim to finish pruning by mid-to-late October (or when nighttime temps dip below 40°F). Cutting too late risks exposing fresh cuts to harsh cold, which can invite disease. If you miss the window, wait until early spring—just avoid heavy pruning during active growth spurts.
Do I need to cut roses in fall if I live in a cold climate?
Yes! Fall pruning boosts winter hardiness by removing dead, diseased, or weak growth. In Zone 5 and colder, focus on light shaping (not drastic cuts) to protect the plant’s energy reserves. Mulch heavily afterward to insulate roots. Pro tip: Wait until after the first hard frost for a clearer picture of what to trim!
What if my roses are already bare or look dead—should I cut them all the way down?
Not necessarily! Many roses (like hybrid teas or grandifloras) need some structure left to support new growth. Cut back by ⅓ to ½ of their height, removing only dead, crossing, or spindly stems. For shrub roses (like Knock Outs), a light cleanup is enough—they bloom on old wood.
Will cutting roses in fall attract pests or diseases?
Pruning opens the door for pests, but proper technique minimizes risks. Always use sterilized shears, cut at a 45° angle (above a bud), and remove debris promptly. Avoid pruning if wet conditions persist—wait for dry, mild days. Bonus: Spray cuts with copper fungicide if your area has fungal issues.
Can I skip fall pruning and just trim in spring?
You can, but you’ll miss out on healthier blooms and fewer pests next year. Fall pruning reduces winter dieback, removes disease vectors, and encourages stronger spring growth. If you’re overwhelmed, prioritize diseased/dead wood—even a little effort helps!
| Quick Reference | Do This | Avoid This |
|---|---|---|
| Timing | After first frost, before hard freeze | Pruning in rain, extreme cold, or late fall |
| Tools | Clean, sharp shears + rubbing alcohol | Dull tools or shared shears |
| Cuts | Above outward-facing buds, slanted | Leaving stubs or cutting into old wood |
Wrapping up and next steps
Fall is the perfect time to give your rose bushes the care they need for a show-stopping spring! By trimming now, you’re setting the stage for healthier growth, fewer pests, and more beautiful blooms next season.
Remember: clean cuts, sharp tools, and a little patience go a long way—your roses will thank you with vibrant, lush foliage and abundant flowers.
Ready to take action? Grab your pruners and schedule your trimming session before the first hard frost hits. And if you’re feeling ambitious, consider adding mulch or compost afterward to give your roses an extra boost. Happy gardening—your future blooms are counting on you! 🌹✨