
Pruning
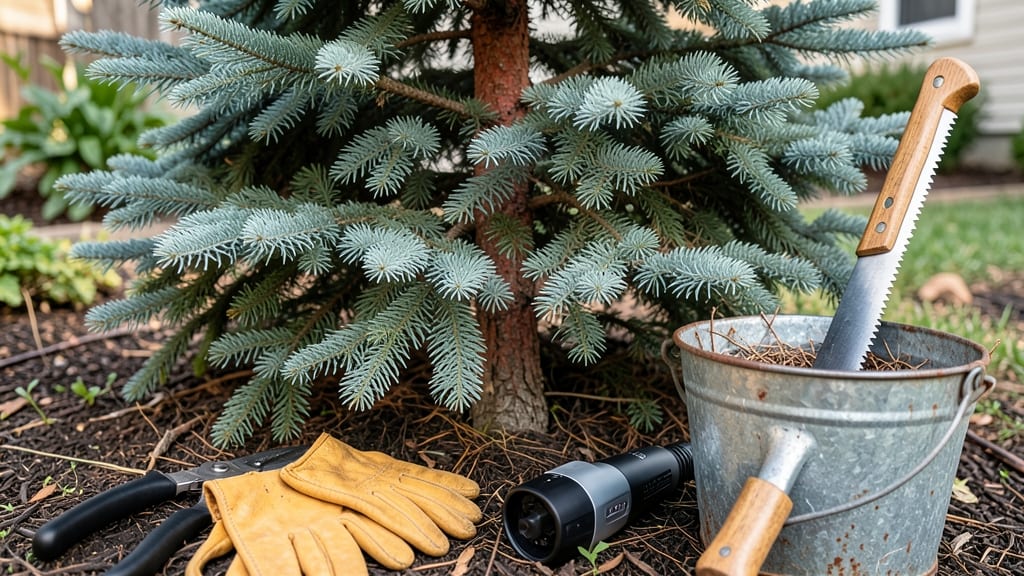
Strategic pruning transforms your cedar bushes from dusty eyesores into year-round greenery powerhouses. ✂️ I've learned the hard way that cedars don't respond to random cuts—they need seasonal precision and the right technique to stay dense, healthy, and free of those pesky brown patches.
The key? Timing your cuts to match the bush's natural growth cycles while avoiding the fine dust that makes cedar pruning a respiratory hazard.
Most people prune cedars at the wrong time, triggering stress that opens the door to pests and disease. The ideal window is late winter to early spring when new growth begins, but you can also do light shaping in late summer—just never during drought or extreme heat.
I use sharp bypass pruners (never dull shears) and a dust mask because that cedar powder gets everywhere, and trust me, you don’t want it in your lungs. For larger branches, loppers with extended handles keep you safe from those sharp, spiky tips.
What you'll end up with is a bush that stays full and vibrant for years, with fewer brown patches and stronger resistance to deer browsing.
The secret is cutting just outside the branch collar (that little bump where the branch meets the stem) to encourage new growth from the right spots. I've seen cedars go from sparse and sad to lush and neighborhood-showcase status after just one proper pruning session—it's that dramatic.
This method works for both arborvitae and true cedars, though the timing tweaks slightly depending on your climate zone. The payoff? Less maintenance, healthier plants, and a yard that stays green even when other shrubs are struggling.
Let's get those shears sharpened and make your cedars the envy of the block.
📚 In This Guide
- What you need
- Instructions
- Tips and common mistakes
- Wrapping up and next steps
What you need
- ● Pruning shears: Bypass pruners (for clean cuts on small branches, 4–6 inches long) – 1 pair.
- ● Loppers: Bypass or anvil type (for thicker branches, 8–12 inches long) – 1 pair.
- ● Pruning saw: Curved or folding saw (for branches thicker than 1 inch) – 1.
- ● Gloves: Heavy-duty, cut-resistant (to protect hands from thorns and sap) – 1 pair.
- ● Safety glasses: (to shield eyes from debris) – 1 pair.
- ● Ladder or step stool: (if bushes exceed 6 feet tall) – 1.
- ● Disinfectant: 70% isopropyl alcohol or bleach solution (to sterilize tools between cuts and prevent disease) – small bottle.
- ● Heavy-duty trash bags: (for collecting pruned branches) – 2–3 bags.
- ● Extension pole pruners: (for high branches without a ladder) – 1.
- ● Sharpener: (to keep blades in top condition) – 1.
- ● Pruning sealant: (for large cuts to prevent sap bleeding) – small tube.
- ● Work boots: (with ankle support for stability) – 1 pair.
How to prune cedar bushes for year-round health
Here's the method I've used for years to keep cedars lush and pest-free without stressing the plants.
✂️ Step 1: Time Your Cuts for Maximum Recovery
Late winter or early spring—just as new growth begins—is the best time to prune. This gives cedars the entire growing season to recover before winter stress sets in. I always wait until after the worst cold snaps but before buds swell, usually February through March in most climates.
Never prune in late summer or fall. You'll see new growth spurt, but it won't harden off before winter and will die back. If you missed the window, a light shaping in early spring is better than nothing—but expect slower recovery.
✂️ Step 2: Remove Dead, Diseased, or Broken Branches First
Start by scanning the bush for any branches that are brown, mushy, or snapped. These are your top priority—remove them completely at the base with clean, sharp pruners. Cedar wood doesn't heal well, so don't leave stubs. Cut just outside the branch collar where it meets the main stem.
Look for signs of cedar blight (dark, sunken cankers) or bagworms (sacs hanging from branches). Bagworms love cedars, so remove any infested branches immediately and dispose of them in sealed bags—not your compost pile.
✂️ Step 3: Thin Out the Interior for Airflow
Cedars need good airflow to prevent fungal diseases. Reach into the center and remove up to 25% of the oldest, thickest branches
Here's the thing—cedars grow slowly, so don't overdo it. You'll see dense, woody growth in the center if you've been neglecting pruning. Just work gradually over a few seasons. After thinning, step back and check for balanced shape. If your cedar has grown uneven, use hand pruners to trim just the tips of branches to encourage bushier growth. Never remove more than 1/4 of the branch length at one time. I prefer to shape with hand pruners rather than loppers—they give me more control over delicate cuts. For formal hedges, use a string line as a guide. For natural shapes, just follow the plant's natural form. The goal is to maintain the bush's character while keeping it healthy. After shaping, rake up all the clippings—cedar debris can harbor pests. Sterilize your pruners with rubbing alcohol between cuts to prevent spreading disease. Then, dispose of all clippings in sealed bags—cedar debris can harbor pests that jump to other plants. I always wear gloves when handling cedar, as the foliage can irritate sensitive skin. After pruning, give your cedar a deep watering to help it recover. Mulch around the base with 2-3 inches of organic mulch (like shredded bark) to retain moisture and protect roots. Avoid piling mulch against the trunk—keep it 3 inches away to prevent rot.✂️ Step 4: Shape Lightly for Aesthetics (Optional)
🌿 Step 5: Clean Up and Protect for the Season
Tips & tricks for perfect cedar pruning
These little-known tricks will help you avoid common mistakes and keep your cedars thriving for years.
Seasonal Timing: I can't stress this enough—pruning in late winter or early spring (February through March) gives your cedar the full growing season to recover. If you missed the window, a light shaping in early spring is better than nothing, but don't expect the same recovery speed. I've seen cedars stressed by summer pruning struggle through winter, so timing really is everything.
Clean Cuts Are Non-Negotiable: Cedar wood doesn't heal like some other plants. When you remove branches in Step 2, always cut just outside the branch collar where it meets the main stem. This prevents unsightly stubs and reduces the risk of disease entering the plant. I've made the mistake of leaving stubs, and within a year, those spots became weak points for pests.
Airflow Strategy: In Step 3, when you're thinning the interior, focus on removing the oldest, thickest branches first. These are the ones blocking sunlight and airflow to the center. I like to work from the inside out—this opens up the bush gradually. Remember, cedars grow slowly, so don't remove more than 25% in one season. You'll see dramatic improvement in just a few years if you're patient.
Tool Maintenance Matters: Sterilizing your pruners with rubbing alcohol between cuts (as mentioned in Step 5) isn't just about disease prevention—it's about keeping your tools in top shape. I've ruined perfectly good pruners by letting sap and resin build up in the hinges. After each pruning session, wipe them down with mineral spirits to remove any cedar residue. This extends the life of your tools and keeps cuts clean.
Pro Tips for Pruning Cedar Bushes
- These little-known tricks will help you avoid common mistakes and keep your cedars thriving for years.
- Seasonal Timing: I can't stress this enough—pruning in late winter or early spring (February through March) gives you...
- Clean Cuts Are Non-Negotiable: Cedar wood doesn't heal like some other plants. When you remove branches in Step 2, al...
Frequently asked questions
Got questions about pruning cedar bushes? You’re not alone! Here are some of the most common concerns—plus straightforward answers to keep your cedars thriving.
When is the best time to prune cedar bushes?
The ideal time is late winter or early spring (before new growth starts) to avoid stressing the plant. Avoid pruning in summer or fall—this can attract pests or encourage fungal growth. If you must prune outside this window, do it on a cool, overcast day to minimize shock.
How much can I trim off without harming my cedar bush?
Never remove more than 25-30% of the foliage in a single session. Cedars are resilient, but aggressive pruning can weaken the plant or invite disease. Focus on shaping and thinning rather than heavy cuts. For mature bushes, spread pruning over 2-3 years if major reshaping is needed.
What should I do if my cedar bush looks sad after pruning?
Yellowing needles or sparse growth? You might’ve pruned too much or at the wrong time. Water deeply and avoid fertilizing for 4-6 weeks. If pests (like bagworms or spider mites) appear, use neem oil or insecticidal soap. With proper care, cedars bounce back—just be patient!
Can I prune cedar bushes in winter?
Yes, but only if necessary (e.g., removing dead branches). Avoid heavy pruning in freezing temps—cedars are dormant but still vulnerable. If you must trim, wait until late winter (after the worst cold snaps) and use sterilized tools to prevent disease spread.
What’s the difference between pruning and shearing cedar bushes?
Pruning = selective cuts to remove dead wood, shape naturally, and improve airflow. Shearing = uniform cuts for a manicured look (like a hedge). Cedars thrive better with pruning—shearing too often can stress the plant. Use shears sparingly for formal designs.
Wrapping up and next steps
Pruning your cedar bushes doesn’t have to be a daunting task—with the right tools, timing, and techniques, you can keep them thriving year-round! 🌿 Whether you’re shaping for aesthetics, promoting growth, or preventing disease, strategic cuts make all the difference.
Remember, consistency is key, so schedule regular check-ins to maintain their health.
Now that you’re equipped with the know-how, grab those pruners and get started! If you’re unsure about a tricky cut, don’t hesitate to watch a quick tutorial or consult a local arborist for personalized advice. Happy pruning—your cedars will thank you with lush, vibrant foliage for years to come! ✂️💚