
Pruning
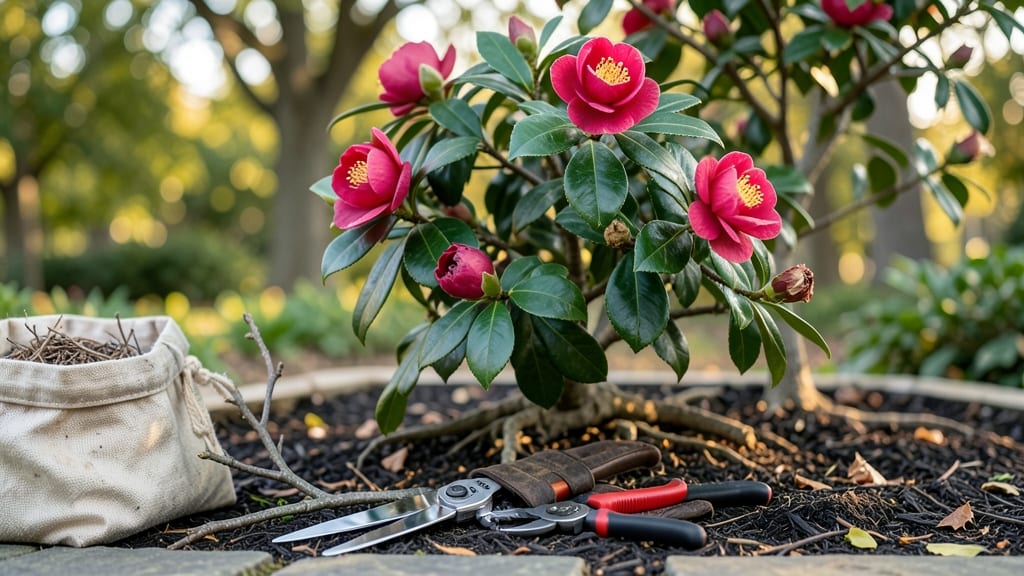
Trimming a camellia bush transforms it from a tangled mess into a showstopping floral display year after year. 🌸 I’ve spent years watching my camellias go from sparse blooms to lush, overflowing branches—all thanks to a few key cuts made at the right time.
The secret isn’t just snipping randomly; it’s about understanding when and how to shape the bush so it keeps producing those glossy, abundant blooms. Most gardeners wait until spring to prune, but camellias actually prefer a late-winter trim (right after blooming season ends).
You’ll need sharp pruning shears, gloves, and a clear day to avoid spreading disease. The goal is to open up the center, encourage airflow, and remove any dead or crossing branches—never more than one-third of the bush at once.
After pruning, you’ll see fresh, vibrant growth within weeks, and next season’s blooms will be bigger and more abundant. The bush stays compact, resists pests, and even handles winter better. Just avoid cutting into old wood (the thick, woody stems)—those cuts won’t heal, and your camellia won’t rebound.
This method works for both old and new camellias, whether you’re dealing with a sprawling hybrid or a compact variety. The key is patience: a little shaping now means decades of stunning blooms with minimal effort. Ready to give it a try?
📚 In This Guide
- What you need
- Instructions
- Tips and common mistakes
- Wrapping up and next steps
What you need
- ● Pruning shears – Bypass pruners (sharp, 5-7 inch blades) for clean cuts on smaller branches.
- ● Loppers – Long-handled (20-24 inches) for thicker branches (½ inch or larger).
- ● Hand pruners – Anvil-style (for stubborn, woody stems—sterilize after use!).
- ● Garden gloves – Heavy-duty, cut-resistant to protect hands from thorns and sap.
- ● Disinfectant – 70% isopropyl alcohol or bleach solution (1 part bleach to 9 parts water) to sterilize tools between cuts.
- ● Rag or paper towels – For wiping tools and hands clean.
- ● Bucket or trash bag – To collect pruned branches and debris.
- ● Pruning saw – For very thick branches (1+ inch)—look for a fine-toothed blade.
- ● Hose with nozzle – To rinse tools and clean sap off hands.
- ● Marking twine or spray paint – To temporarily mark branches for future reference.
- ● Mulch or compost – To protect roots after trimming.
- ● Safety glasses – If working near your face or in windy conditions.
Step-by-step instructions for trimming a camellia bush
Here’s how to shape your camellia for lush, continuous blooms—without sacrificing next year’s flowers.
✂️ Step 1: Time Your Trim for Optimal Growth
Camellias bloom on old wood, so timing matters. Trim immediately after flowering (late spring for spring-blooming varieties, early summer for fall-bloomers). This ensures you don’t cut off next year’s buds, which form on last year’s growth. If you miss the window, wait until late summer—just avoid pruning in fall or winter when buds are forming.
Look for spent blooms—they’ll turn brown and crispy. This is your cue to act. I always grab my pruners and work while the bush is still fresh, before new growth gets too leggy. Avoid trimming in hot, dry weather; aim for a mild, overcast day to reduce stress on the plant.
✂️ Step 2: Clean Up and Shape with Layered Cuts
Start by removing dead, diseased, or crossing branches—these compete for energy and disrupt airflow. Cut back to the main stem or outward-growing bud using clean, sharp pruners (sterilize with rubbing alcohol first). For thicker branches, make a small notch below the cut to prevent bark tearing.
Shape the bush by thinning out rather than shearing. Focus on opening the center to improve airflow—camellias hate crowded interiors, which trap humidity and invite fungal issues. Step back often to check your work; the goal is a natural, balanced silhouette, not a geometric hedge. I like to imagine the bush as a layered cake, with each cut revealing the tier below.
✂️ Step 3: Encourage Bushier Growth with Strategic Cuts
To promote denser foliage and more blooms, cut back overly long branches by one-third to a side bud or lateral branch. Avoid cutting into the pencil-thin new growth—this is where next year’s flowers will form. For leggy stems, make your cut just above a leaf node where a side branch emerges.
If your camellia has overly thick growth, you can lightly thin out the oldest branches at the base to encourage younger, more vigorous shoots. But never remove more than 25% of the plant’s foliage in one session—this stresses the bush and can reduce flowering. Watch for new shoots emerging within 4-6 weeks; these signal your cuts are working.
💧 Step 4: Post-Trim Care for a Strong Recovery
After trimming, water deeply to help the plant recover. Camellias have shallow roots, so soak the soil until water runs out the drainage holes. Follow up with a balanced, acidic fertilizer (like a 6-6-6 or 8-3-9 blend) to support new growth. I like to apply a slow-release fertilizer in early summer to keep the bush fed without overdoing it.
Keep the area weed-free and mulch lightly with 2-3 inches of organic mulch (like pine bark) to retain moisture and regulate soil temperature. Avoid piling mulch against the trunk—this can cause rot. In 6-8 weeks, you’ll see fresh, vibrant growth, and next season’s buds will form stronger than ever.
⏰ Step 5: Monitor and Adjust for Continuous Blooms
Check your camellia monthly for new growth and adjust as needed. If you notice bare spots or overly dense areas, do a little light pruning throughout the growing season to maintain balance. Camellias respond well to gentle, regular maintenance—think of it like a haircut, not a drastic makeover.
Here’s the thing—camellias reward patience. If you’ve missed a season or two, don’t panic. Focus on cleaning up dead wood and opening the canopy first. Over time, your bush will bounce back with bold, healthy blooms that last for weeks. And remember: less is more—camellias bloom best when they’re not over-pruned.
Tips & tricks for perfect camellia trimming
Here's what nobody tells you about shaping camellias without stressing the plant.
Timing is Everything: The window for trimming is narrow—act within 2 weeks after flowering for spring varieties, or right after fall blooms drop. I've seen gardeners wait too long and end up cutting off next year's buds by accident. If you miss the spring/fall window, late summer is your second chance, but avoid fall/winter pruning completely. The plant needs that dormant season to set buds for next year.
Tool Prep Prevents Problems: Sterilize your pruners with rubbing alcohol before you start—this prevents spreading fungal diseases between cuts. I always make a habit of sharpening blades too; dull pruners crush stems instead of making clean cuts, which stresses the plant. For thicker branches, use a small saw if your pruners can't handle it, then make that notch below the cut to keep bark from tearing.
The Layered Cake Approach: When shaping, think vertically—not just horizontally. Remove branches from the center outward to create that "layered cake" effect mentioned in Step 2. This opens up airflow while maintaining the bush's natural silhouette. I like to step back every few cuts to check my progress against the plant's overall shape. The goal is to reveal the inner tiers without creating a bare center.
Stress Management for Recovery: Never remove more than 25% of foliage in one session, as mentioned in Step 3. After trimming, give your camellia a deep watering to help it recover—those shallow roots need hydration fast. I've learned the hard way that skipping this step can lead to wilting or even bud drop. Follow up with a balanced acidic fertilizer to support new growth, and keep the area weed-free to reduce competition.
Pro Tips for Trimming A Camellia Bush
- Here's what nobody tells you about shaping camellias without stressing the plant.
- Timing is Everything: The window for trimming is narrow—act within 2 weeks after flowering for spring varieties, or r...
- Tool Prep Prevents Problems: Sterilize your pruners with rubbing alcohol before you start—this prevents spreading fun...
Frequently asked questions
Got questions about trimming your camellia bush like a pro?
You’re not alone! Here are the most common queries—plus expert answers—to keep your plant thriving and blooming year-round.
When is the best time to trim a camellia bush?
Trim your camellia right after flowering (late spring to early summer) to avoid cutting off next year’s buds. Avoid heavy pruning in fall or winter, as this can stress the plant and reduce blooms. Light shaping in late winter (before buds swell) is fine, but keep it minimal!
How do I trim a camellia bush without killing it?
Never remove more than 1/3 of the plant’s foliage in one session. Use sharp, clean pruners to make angled cuts just above a bud or branch junction. Avoid cutting into old wood—camellias bloom on new growth, so focus on shaping rather than drastic reductions. Patience is key!
Can I trim a camellia bush in fall or winter?
Light maintenance (removing dead or crossing branches) is okay in late winter, but avoid heavy pruning during fall or winter. These seasons coincide with bud formation, and aggressive cuts can stunt blooms. If you must prune, stick to 10% or less of the plant’s structure.
What if my camellia bush isn’t blooming after trimming?
Bloom issues often stem from over-pruning or cutting into old wood. Ensure you’re trimming only after flowering and leaving healthy stems. Improve care by ensuring 6+ hours of sunlight, well-draining soil, and consistent moisture. If buds form but drop, it may signal stress—check for pests or nutrient deficiencies!
Do I need special tools to trim a camellia bush?
Basic tools suffice! Use bypass pruners for small branches and loppers for thicker stems. A sterilized saw may be needed for stubborn wood. Keep tools clean to prevent disease. Gloves are helpful—camellia leaves can be prickly! Avoid dull tools, which tear branches and invite infections.
How do I shape a camellia bush for fuller growth?
Encourage density by pruning selectively—cut back the longest, leggiest branches to redirect energy inward. Focus on opening the center for airflow and light. For a rounded shape, trim outward-facing branches slightly shorter than inward ones. Avoid shearing—camellias respond best to layered, strategic cuts!
Wrapping up and next steps
Trimming your camellia bush doesn’t have to be intimidating—with the right layered approach and timing, you’ll enjoy stunning blooms year after year! 🌸 Remember to prioritize health over perfection, prune in stages, and celebrate the process as much as the results.
Now that you’re armed with techniques, tools, and tips, grab your shears and give your camellia the care it deserves.
Ready to transform your garden? Start small—pick one section of your bush to practice your cuts, then gradually expand. Before you know it, your camellia will be the showstopper of the neighborhood! 🌿