
Pruning
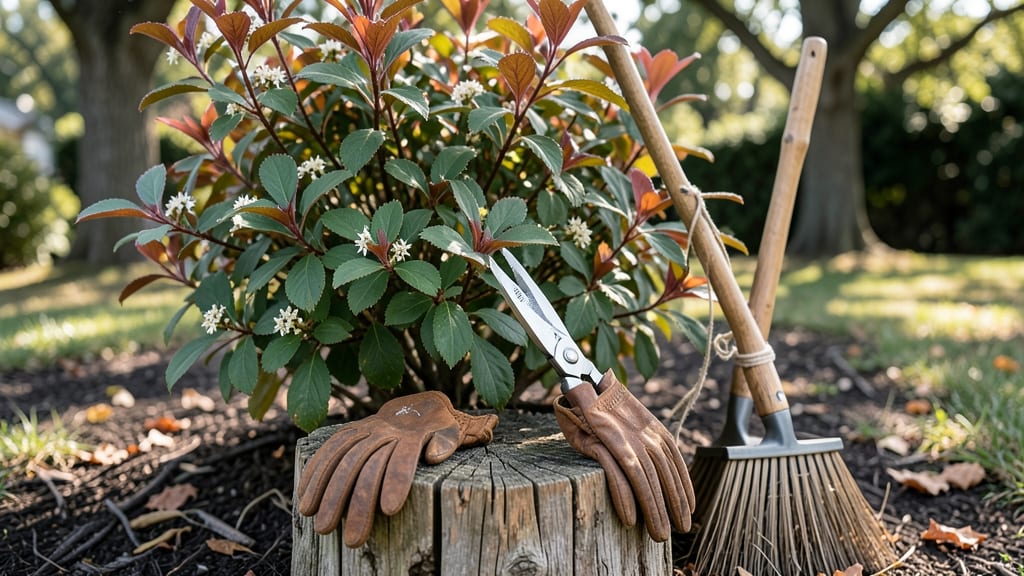
Winter is the perfect time to trim your burning bush—when it's dormant and easier to shape. ✂️ I’ve learned that cutting back now prevents messy spring regrowth and encourages stronger stems for next year’s vibrant foliage and berries.
You’ll need sharp bypass pruners (for clean cuts) and a ladder if your bush is tall. Start by removing any dead, crossing, or weak branches first—these are the ones that’ll steal energy from your plant’s best growth.
Think of it as giving your burning bush a fresh start before spring’s rush.
Work your way to the main structure, cutting just outside the branch collar where it meets the trunk. This method promotes faster healing and prevents disease. By the time buds swell in early spring, you’ll see new growth emerging exactly where you want it—thicker, fuller, and ready for summer’s show.
Pro tip: Avoid heavy pruning in late winter if you’re in a cold climate—wait until after the last frost. And resist the urge to over-prune; burning bushes bounce back surprisingly well, but a little shaping goes a long way toward keeping them healthy and picturesque all season.
📚 In This Guide
- What you need
- Instructions
- Tips and common mistakes
- Wrapping up and next steps
What you need
- ● Pruning shears or hand pruners – Choose bypass pruners (not anvil-type) for clean cuts. Opt for sharp, bypass pruners (4-6 inches) with comfortable grips.
- ● Lopping shears or pruning saw – For thicker branches (over ½ inch in diameter). A curved-blade pruning saw works best for stubborn cuts.
- ● Gloves – Wear gardening gloves with reinforced palms to protect against thorns and rough branches.
- ● Safety glasses or goggles – Essential to shield your eyes from debris.
- ● Disinfectant (70% isopropyl alcohol or bleach solution) – Clean tools between cuts to prevent disease spread (1 part bleach to 9 parts water).
- ● Heavy-duty trash bags or bucket – For collecting pruned branches and debris.
- ● Ladder (if needed) – A stable, extendable ladder (e.g., 6-10 ft) for reaching higher branches safely.
- ● Rake or leaf blower – To clear fallen leaves and debris after trimming.
- ● Pruning sealant – Apply to large cuts (over ½ inch) to prevent disease entry (e.g., Tanglefoot Tree Wound Pruning Seal).
- ● Knee pads or stool – For comfort if trimming low-lying branches.
- ○ Marking spray (optional) – Useful for identifying branches to keep or remove before cutting.
- ● Sharpener (file or whetstone) – Keep blades razor-sharp for cleaner cuts.
- ● Work apron with pockets – To hold small tools and debris while you work.
Instructions: how to trim your burning bush for stronger spring growth
Winter's the perfect time to shape your burning bush—here's how to do it right.
✂️ Step 1: Gather Tools and Assess the Bush
Start with sharp, clean pruning shears and a sturdy ladder if your bush is tall. I always disinfect my tools with rubbing alcohol first—this prevents spreading disease between cuts. Stand back and examine the bush's overall shape, noting any dead, crossing, or overgrown branches. These are your priority targets.
Look for branches that are completely brown and brittle—they're dead and should be removed first. Healthy branches will have some green underneath the bark when you scrape it lightly with your thumbnail. Mark these branches with a piece of twine or flagging tape so you don't accidentally cut them later.
✂️ Step 2: Remove Dead and Problem Branches First
Make your first cuts by removing any dead wood completely back to the main trunk or to a healthy lateral branch. Cut at a 45-degree angle just above a outward-facing bud or node—this encourages new growth to sprout in the right direction. Never leave stubs; clean cuts heal faster and look better.
Next, address any branches that are rubbing against each other or growing inward. These compete for sunlight and nutrients, weakening the plant. Cut these back to their point of origin or to a healthy lateral branch. I like to step back after each cut to check the overall shape—this helps me avoid over-trimming one section.
✂️ Step 3: Thin Out the Center and Shape the Bush
Now focus on thinning out the center of the bush to improve airflow and sunlight penetration. Remove about one-third of the oldest branches from the center, cutting them back to their base. This rejuvenates the plant and prevents disease. For the outer shape, make smaller adjustments to create a balanced, natural silhouette.
I work in sections, moving around the bush rather than standing in one spot. This helps me see the overall effect as I go. Avoid cutting more than 25% of the bush's total foliage in one season—this prevents shock. If you're unsure about a cut, it's better to leave it and reassess next year.
✂️ Step 4: Clean Up and Prepare for Spring
After shaping, collect all the pruned branches and dispose of them properly. Burning bush can spread aggressively, so I always bag the clippings and put them in the green waste bin—not the compost pile. Rake up any fallen leaves or debris from around the base of the plant to reduce pest and disease risks.
Give the bush a light application of 2-3 inches of mulch around the base (but not touching the trunk) to protect roots during late winter thaws. Water deeply if winter has been particularly dry. This final step helps your burning bush recover quickly and ensures vibrant spring growth.
Tips & tricks for perfect winter burning bush trimming
A few simple tricks will help you trim your burning bush like a pro—and keep it thriving for years to come.
Tool Prep Matters: Before you even touch the bush, sharpen your pruning shears with a file or hone them on a sharpening stone. Dull blades tear rather than cut cleanly, which damages branches and stresses the plant. I also keep a small spray bottle of rubbing alcohol handy to wipe down blades between cuts—this prevents cross-contamination of diseases between branches.
Visual Cues for Healthy Cuts: In Step 2, when making those 45-degree cuts above outward-facing buds, look for the tiny green dots on the branch. These are the dormant buds where new growth will emerge. Cutting just above them ensures your bush grows in the right direction. Pro tip: If you're unsure, make your cut slightly higher—you can always trim back later, but you can't undo a cut that's too low.
Thinning Strategy: When you're removing that one-third of oldest branches in Step 3, focus on the thickest, woodiest stems first. These are the ones that compete most for resources. I like to work in a spiral pattern around the bush, starting at the center and moving outward. This helps me visualize the airflow improvement as I go—you should be able to see light filtering through to the center by the time you're done.
Mulch Application: For that final 2-3 inches of mulch, I recommend using shredded bark or wood chips rather than fresh wood mulch. Fresh wood can draw nitrogen from the soil as it decomposes, which stresses your newly pruned bush. Spread the mulch in a donut shape—about 6 inches wide—keeping it clear of the trunk to prevent rot. This creates a perfect microclimate for root protection during those late winter thaws.
Pro Tips for Trimming Burning Bush In Winter
- A few simple tricks will help you trim your burning bush like a pro—and keep it thriving for years to come.
- Tool Prep Matters: Before you even touch the bush, sharpen your pruning shears with a file or hone them on a sharpening stone.
- Visual Cues for Healthy Cuts: In Step 2, when making those 45-degree cuts above outward-facing buds, look for the tiny green dots on the branch.
Frequently asked questions
Got questions about trimming your burning bush in winter?
You're not alone! Here are some of the most common concerns—and expert answers—to help you tackle the job with confidence.
Is it safe to trim a burning bush in winter?
Yes! Winter is actually the best time to prune burning bushes (Euonymus alatus) because the plant is dormant. You avoid stressing it during active growth and can see the natural shape more clearly without leaves. Just avoid extreme cold snaps or late winter when buds are swelling.
When exactly should I trim my burning bush in winter?
Aim for late winter, after the worst cold but before buds break. In most regions, this means February or early March. If you miss this window, you can still prune in early spring, but avoid heavy cuts after mid-April to prevent encouraging late-season growth that won’t harden off for winter.
How much can I cut back my burning bush?
You can trim up to one-third of the plant’s height in a single season, but avoid over-pruning. For rejuvenation, cut back old stems to 6–12 inches from the ground. Always use clean, sharp tools to make clean cuts just above a bud or branch collar to promote faster healing.
What if my burning bush looks dead after trimming?
Don’t panic! Dormant branches may look bare, but the plant is alive. If you accidentally cut into old wood (no green beneath the bark), it won’t regrow. For leggy bushes, focus on thinning out crowded branches and shaping, rather than shearing. New growth should emerge by late spring.
Can I use hedge trimmers instead of pruning shears?
Hedge trimmers work for light shaping, but they’re not ideal for precise cuts. For thick branches (over ½ inch), use loppers or a pruning saw. Shearing with trimmers can create jagged edges that invite disease. If you must use trimmers, take your time and step back often to avoid over-trimming.
What if it snows or freezes right after I trim?
No need to rush! Fresh cuts can handle light frost, but avoid trimming during or right after a heavy snowstorm. If ice forms on cuts, gently brush it away with a soft cloth. The plant will heal fine—just monitor for signs of stress (like wilting or discoloration) and water lightly if the ground is dry.
Wrapping up and next steps
Trimming your burning bush in winter is a game-changer—it boosts spring blooms, improves plant health, and keeps your landscape looking sharp. 🌿 With the right tools, timing, and technique, you’ll set your shrub up for vibrant growth and fewer pests.
Now that you’re armed with the know-how, there’s no better time to grab those pruners and get to work!
Ready to take action? Mark your calendar for late winter (just before new growth starts) and tackle the job with confidence. Your future spring garden will thank you!